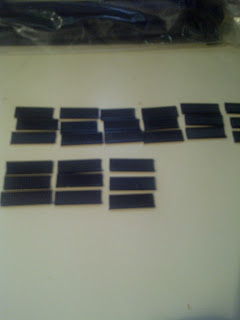
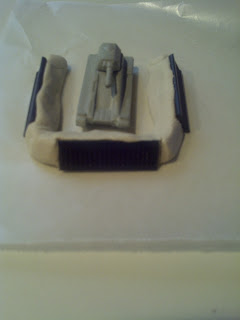
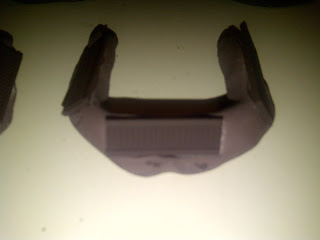
My concept was to make it look like a sloped pile of dirt that had slabs of sheet metal slapped on for added strength. I hied myself down to the local hardware store to see what I might be able to press into service for materials. Once I managed to make one of the folks there understand (sort of) what I was looking for, I found that large plastic zip-ties would be perfect for the metal sheeting. They’re exactly the right size, and the ridges on the line look like corrugated metal. Since I was making 20 revetments, I cut up 60 one-inch pieces of zip tie (one for each side). I didn’t worry too much about making them exactly straight or exactly the same size; it’s supposed to look like a rush job.
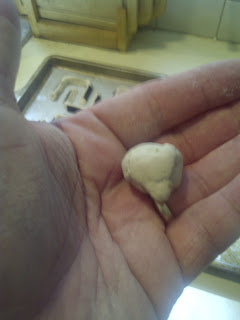
I then took some Crayola air-drying modeling clay and proceeded to make the embankments. It took a couple of tries to figure out I didn’t really need all that much clay per revetment.
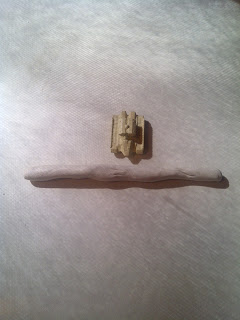
I rolled out a 3-inch “snake” of clay and made sure I had a vehicle handy to make sure I was getting the length right. Don’t be afraid to break off a piece of the end and redo it if it looks like the line will be too long. It should be just long enough to cover the front and sides.
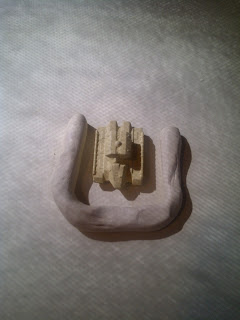
Then just bend the clay around the model and press down on the ends (giving them a slight slope).
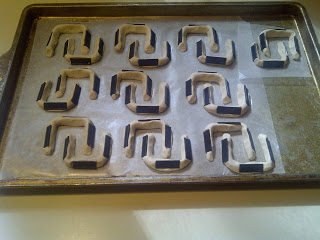
Next, while the clay was still pliable (it takes about 48 hours to really set) I pressed the plastic pieces of zip tie into it. I had hoped that the clay would simply cling to the plastic as it dried; unfortunately, that didn’t work out. Once the clay dried, I found I needed to glue the plastic bits into their assigned spaces. Not a tragedy. One thing, though; because you’re dealing with slightly irregular bits of plastic, each needs to be glued into place in exactly the spot you had originally pressed it into. Don’t break them all off and try to glue them in willy-nilly, because it won’t work!
I did all my work on a cookie sheet covered with wax paper. Not because the clay had to go into the oven, but just to make moving them around easier while they were still soft. I figured the wax paper would make them easier to pick up once they had dried, and it seemed to work.
Once they were dry, I gave them all a couple of coats of flat brown spray paint. I might do another coat, because the clay seems to soak up the paint, and I’ll definitely be touching up the plastic bits (maybe add a little rust here and there). But on the whole, they seemed to turn out exactly as I had envisioned.
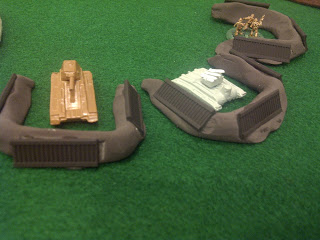
And here’s a close-up of them on the table at Dexcon, with a few sample units inside. Quick and dirty (the whole thing probably took two hours total, not including the time needed to let them dry), but effective enough.




Looks good. If you use air-dry clay for terrain and want to save some paint and time, give the pieces a coat of thinned white glue before you paint them. The glue seals the clay so the paint doesn't soak in.